分类目录归档:路由硬改技术
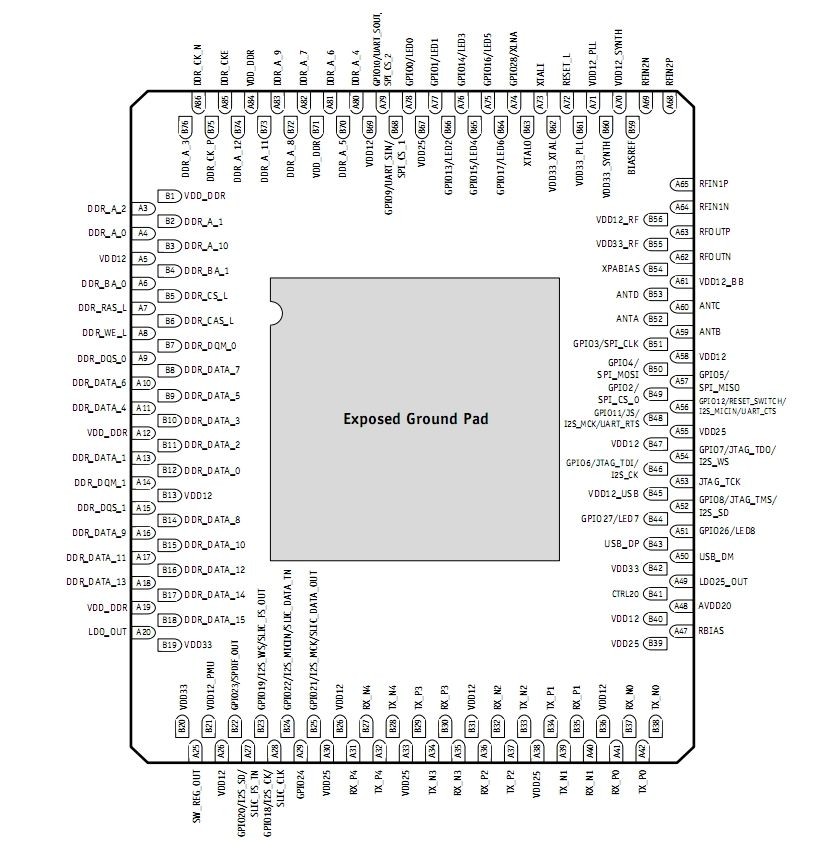
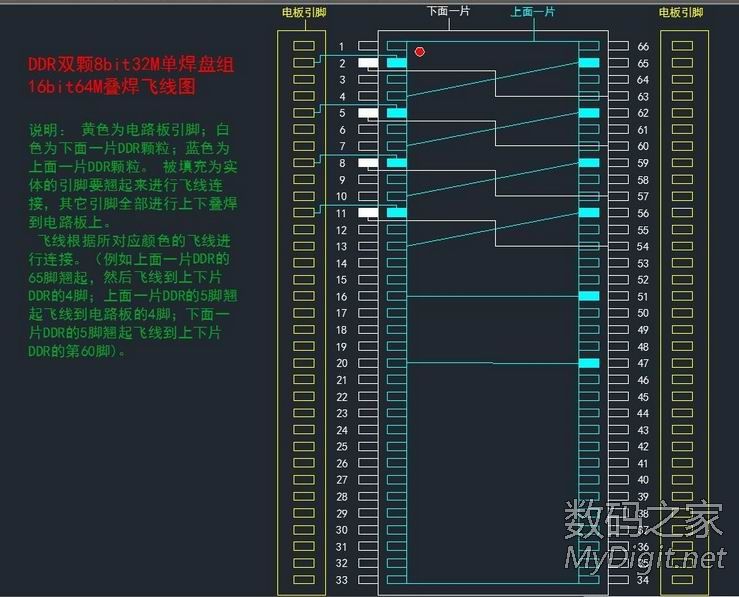
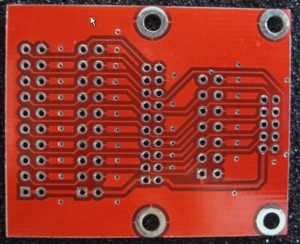
发两个图 留档 ar9331 引脚定义 与DDR内存叠焊图
openwrt 挂载摄像头 mjpg-streamer 相关
AMCap
kmod-i2c-core、
kmod-usb-video、
kmod-video-gspca-core、
kmod-video-gspca-zc3xx;
kmod-video-pwc
build_dir/target-mips_r2_uClibc-0.9.33.2/mjpg-streamer-r148/ipkg-ar71xx/mjpg-streamer/etc/config/mjpg-streamer
====================================
config mjpg-streamer core
option enabled “1”
option device “/dev/video0”
option resolution “640×480”
option fps “30”
option www “/www/webcam”
option port “8080”
======================================
加密码
vi /etc/init.d/mjpg-streamer
把
service_start /usr/bin/mjpg_streamer –input “input_uvc.so \
–device $device –fps $fps –resolution $resolution” \
–output “output_http.so –www $www –port $port”
改成
service_start /usr/bin/mjpg_streamer –input “input_uvc.so \
–device $device –fps $fps –resolution $resolution” \
–output “output_http.so –www $www -c test:123 –port $port”
用户名为test
密码为123
=======================================
存图,不能有密码
wget http://localhost:8081/?action=snapshot -O /tmp/s.jpg
mjpg_streamer –input “input_uvc.so –device /dev/video0 -r 6
40×480 -f 30” -o “output_file.so -f /tmp/”
=======================================
mjpg_streamer -i “input_uvc.so -r 640×480 -f 30” -o “output_http.so -p 8080 -w /www”
UVC需安装的软件
opkg install kmod-video-core kmod-video-uvc
启动命令
mjpg_streamer -i “input_uvc.so -r 352×288 -y -f 15 -q 80” -o “output_http.so -p 8080 -w /www”
把option enabled “0” 改成1
openwrt 给没有usb的机子加入usb支持
#./target/linux/ar71xx/files/arch/mips/ath79/mach-tl-wr741nd.c
build_dir/linux-ar71xx_generic/linux-3.3.8/arch/mips/ath79/mach-tl-wr741nd.c
开头加入
#include “dev-usb.h”
找到函数
static void __init tl_wr741nd_setup(void)
里边加入
/* USB */
ath79_register_usb();
================================
build_dir/linux-ar71xx_generic/linux-3.3.8/arch/mips/ath79/Kconfig
config ATH79_MACH_TL_WR741ND
bool “TP-LINK TL-WR741ND support”
select SOC_AR724X
select ATH79_DEV_AP9X_PCI if PCI
select ATH79_DEV_ETH
select ATH79_DEV_GPIO_BUTTONS
select ATH79_DEV_LEDS_GPIO
select ATH79_DEV_M25P80
select ATH79_DEV_USB
加入了这个”select ATH79_DEV_USB”
===================================
Compile it for the first time, with the modules/settings you want.
For mounting USB drives, select kernel kmod modules:
USB support: usb2, ohci, storage
Filesystems: ext4, ntfs, vfat
Native language support: cp437,cp852,iso-8859-1, utf8.
If you want R/W NTFS support, select:
Utilities/filesystems/ntfs-3g
Then go to build_dir/linux-ar71xx_generic/linux-3.3.8/arch/mips/ath79
Edit this files:
mach-tl-wr741nd-v4.c
add #include “dev-usb.h” at the top of the file
add ath79_register_usb(); before ath79_register_m25p80(&tl_wr741ndv4_flash_data)
Kconfig
add select ATH79_DEV_USB under “config ATH79_MACH_TL_WR741ND_V4”
Now, run make again. Now the USB will work.
openwrt LED控制
点亮和关闭LED
root@OpenWrt:/sys/devices/platform/leds-gpio/leds/tp-link:green:lan# echo 1 > brightness
root@OpenWrt:/sys/devices/platform/leds-gpio/leds/tp-link:green:lan# echo 0 > brightness
openwrt 挂载 usb 设备所需要的包
opkg install kmod-usb-core
opkg install kmod-usb-ohci #安装usb ohci控制器驱动
#opkg install kmod-usb-uhci #UHCI USB控制器
opkg install kmod-usb2 #安装usb2.0
opkg install kmod-usb-storage #安装usb存储设备驱动
opkg install usbutils #安装了这个后可以用 lsusb
opkg install kmod-fs-ext2 #安装ext2分区支持
opkg install kmod-fs-ext3 #安装ext3分区格式支持组件
opkg install kmod-fs-ntfs #ntfs内核驱动
opkg install mount.ntfs-3g #挂载ntfs助手
opkg install mount-utils #挂载卸载工具
opkg install ntfs-3g #挂载NTFS
opkg install kmod-fs-vfat #挂载FAT
opkg install fdisk #硬盘分区管理工具
编译openwrt 12.09 r36088 遇到的问题
1. 报错configure: error: no acceptable Java compiler found in $PATH
系统里没有java的编译器。yum install sdk*
2. make[7]: Entering directory `/home/ssj/attitude_adjustment/build_dir/host/otp_src_R15B01/lib/inets/src’
这个倒是没报错,不过比报错更坑人。我等了几个小时,发现还是不动。
于是到`/home/ssj/attitude_adjustment/build_dir/host/otp_src_R15B01/lib/inets/src’
make 了一下,发现报错ccache :未找到。你妹呀,浪费了几个小时
find /home/ssj/attitude_adjustment -name ccache
发现ccache交插编译环境中已经编译好了。于是修改了一下/etc/bashrc
最后加入了export PATH=$PATH:/home/ssj/attitude_adjustment/staging_dir/host/bin/
然后再重连一下ssh,可以找到ccache了,再编译,可以了,不会卡住不动了
openwrt 12.09 把 4M的固件改成8M的方法
首先用git把openwrt的attitude_adjustment代码下载回来
git clone git://git.openwrt.org/12.09/openwrt.git
然后编辑文件 openwrt/target/linux/ar71xx/image/Makefile
比如我编译的是740n-v3
搜740n找到如下内存
$(eval $(call SingleProfile,TPLINK,$(fs_64kraw),TLWR740NV3,tl-wr740n-v3,TL-WR741ND,ttyS0,115200,0×07400003,1,4M))
改成
$(eval $(call SingleProfile,TPLINK,$(fs_64kraw),TLWR740NV3,tl-wr740n-v3,TL-WR741ND,ttyS0,115200,0×07400003,1,8M))
然后再编译,就行了
关于如何编译,和如何搭建环境,去openwrt.org里的wiki看吧,写的不错,语言有中文的
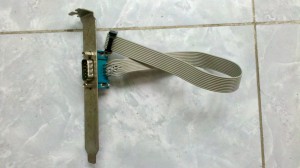
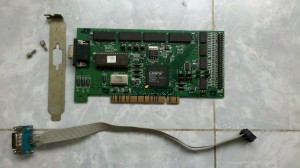
微星 785GTM-E45 自制串口线
购入jlink 自制 转接线
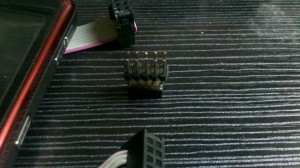
晕菜到家了,买了jlink没买转换板,发的6410的版是2.0间距的10p的口,在淘宝上买板,这不是放假人家不发货,而且还没线卖,我要板没线还是用不了。一气之下,自己做了一条转换线。10p FC头,是以前买来做jtag线用的,20p fc头没有,用的dma33的ide线的头,拆了,锯开,打磨,用502粘上的,10p 2.54转2.0是用从老的磨托罗拉的BP机的板子上拆下来的单排母口做的,哈哈。接口定义如下,上图.留给有用的朋友
s3c_6410(亚嵌发的那个)
1 VDD_IO 电源 3.3V(输入)
2 VDD_IO 电源 3.3V(输入)
3 TRSTn TRSTn
4 nRESET nRESET
5 TDI TDI
6 TDO TDO
7 TMS TMS
8 GND 地
9 TCK TCK
10 GND 地
jlink v8 (20PIN)
1 vref
2 vcc(VTARGET)
3 TRST_N
5 TDI
7 TMS
9 TCK
11 RTCK
13 TDO
15 SRST_N
17 DBGRQ(Wiggler)
19 DBGACK(Wiggler)
other: GND
转换关系
jlink 20 -> 10pin
1 1 (1,2连在一起)
2 2 (1,2连在一起)
3 3
5 5
7 7
8 8
9 9
10 10
15 4
13 6
由于开发板的p1,p2本来就是连在一起的,所以1->1,2->2就行了
SEGGER J-Link Commander V4.26b ('?' for help)
Compiled May 20 2011 17:18:29
DLL version V4.26b, compiled May 20 2011 17:18:15
Firmware: J-Link ARM V8 compiled Apr 27 2011 20:42:35
Hardware: V8.00
S/N: 20100214
Feature(s): RDI,FlashDL,FlashBP,JFlash,GDBFull
VTarget = 3.248V
Info: TotalIRLen = 9, IRPrint = 0x0011
Found 2 JTAG devices, Total IRLen = 5:
#0 Id: 0x2B900F0F, IRLen: 04, IRPrint: 0x0, ARM ETB
#1 Id: 0x07B76F0F, IRLen: 05, IRPrint: 0x1, ARM1176 Core
ARM11 identified.
JTAG speed: 100 kHz
J-Link>
